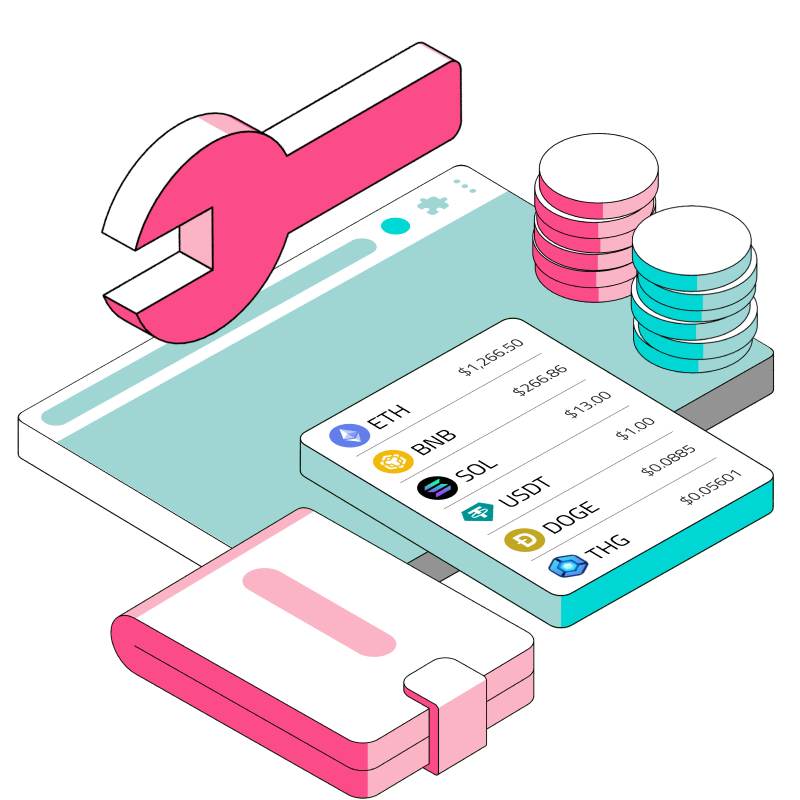
Building Web3 Wallets (Part 1) - Token Displays
- Get token balances for address
Web3 Wallets. We’ve all used them: Metamask, Rainbow, Coinbase Wallet, Argent, Binance Wallet…and the list goes on. Now, you might be thinking, given all these established wallets around me, why should I, in 2024, build another wallet? Well, you may be surprised. Building your own wallet might be simpler than you think, and most importantly, it teaches you principles that lie at the heart of Web3. Things like reading balances, addresses, transactions, and so on. These principles, once learned, allow you to know more about Web3 than 95% of the folks on Twitter sharing Penguin JPEGs.
Moreover, during the next bull market…who knows? Your wallet might just be the next Metamask.
In this series, we’ll be going through the steps to build your own Web3 wallet. You’ll see that with the help of the Covalent API, building a Web3 wallet can be super simple.
Web3 Wallet Anatomy
Now before we begin, I need to clarify that there are two parts to a Web3 wallet. First, there is the Read part of a wallet, where we fetch on-chain data and display the user’s token balances, transactions, and so on. Second, there is the Write part of a wallet, where we sign transactions, make token transfers, and so on. This tutorial is focused on building the Read part of the wallet. To write data to the blockchain, we’ll have to use libraries such as web3.js or ethers.js. That shall be the focus of a future series.
What We Will Build
In this tutorial, we’ll be building the absolute core feature of a wallet: displaying a user’s token balances. At the end of this tutorial, you would have built this React component:

If you already know how to do this, feel free to skip to the other parts of this series:
Building Web3 Wallets (Part 3) - Displaying Curve transactions
Building Web3 Wallets (Part 4) - Displaying Curve liquidity pools
Let’s get started!
(Est time to follow along: 15mins)
Prerequisites
Basic familiarity with React
Some HTML/CSS knowledge
Fetching data using APIs
Tutorial: Building a Token Balances List for a Web3 Wallet
Figuring out what data you need
Let’s take a closer look at the component that we want to build.
From this, we can break down our data needs into the following fields:
Token Name: the name of the token - e.g. "Ethereum", "Dai"
Token Logo: the logo image of the token to be rendered
Token Ticker: the ticker symbol of the token - e.g. "ETH", "DAI"
Token Balances: the balances of the token - e.g. "25.20368" for ETH
Token Value (denominated in USD, say) - e.g. $9,407.68 on the first row
24H Change (Value) - e.g. 6.49% on the first row
A deceptively simple component, but quite a few pieces of data actually!


Identifying the right Covalent API endpoint to use
Luckily, you can get all of these data points using just one Covalent endpoint: the Get token balances for address endpoint. The image shows the response shape for one item.
The fields you'll be interested in are: contract_name (token names), logo_url (token logos), contract_ticker_symbol (token tickers), balance (token balances), quote (token values), and quote_24h (24H change).
You can examine the response directly from our API reference, or, if you like, paste the following into your browser (just be sure to replace the {API_KEY} with your actual Covalent API key):
https://api.covalenthq.com/v1/eth-mainnet/address/0x0b17cf48420400e1D71F8231d4a8e43B3566BB5B/balances_v2/?key={API_KEY}
Checked out the response? All ready? Let’s go on to build the app.


Clone this starter kit & initialize the project
Open the terminal and run the following commands:
git clone <https://github.com/xiaogit00/building-wallets.git>

cd building-wallets

npm i

git checkout part1-tokenDisplay
npm start
Run npm start and head over to localhost:3000 in your browser. You should see the following:


This is just a simple template I’ve set up to get you going. There’s nothing fancy, just a bunch of <divs> sitting within src/App.js and styled with src/App.css.

// src/App.js
import { useState, useEffect } from 'react';
import './App.css';

function App() {
  const [data, setData] = useState([...Array(6).keys()])

  return (
    <div className='container'>
      {data.map(item => {
        return (
          <div className='row'>

            <div className='left'>
              <div className='logoContainer'>
                <img className='tokenLogo' src='<https://res.cloudinary.com/dl4murstw/image/upload/v1677729872/greybox_zkioqf.png>' alt='tokenlogo'/>
              </div>
              <div className='left-info-container'>
                <div className='tokenName'>Token</div>
                <div className='tokenBalance'>0.00</div>
              </div>
            </div>

            <div className='right'>
              <div className='tokenValue'>$0</div>
              <div className='percentageChange'>0%</div>
            </div>
          </div>
        )
      })}
    </div>
  );
}

export default App;
In the next few steps, we’re going to make a call to the Covalent API, and get the token balances for the Ethereum address 0x0b17cf48420400e1D71F8231d4a8e43B3566BB5B.
Fetch the data
First, create an effect hook:
function App() {
...

  useEffect(() => {

  }, [])
...
Second, define the Covalent endpoint and enter your API key:
⚠️In an actual production environment, it is advised to put your API key in the .env file.
const walletAddress = '0x0b17cf48420400e1D71F8231d4a8e43B3566BB5B'
const balancesEndpoint = `https://api.covalenthq.com/v1/eth-mainnet/address/{walletAddress}/balances_v2/`
const apiKey = // insert API key here
Third, call fetch() within the effects hook and console.log the results:
useEffect(() => {
    fetch(balancesEndpoint, {method: 'GET', headers: {
      "Authorization": `Basic ${btoa(apiKey + ':')}`
    }})
      .then(res => res.json())
      .then(res => console.log(res))
  }, [balancesEndpoint])
Opening up the dev console, you should be able to see the following:
If you see this, you’ve successfully loaded the data! Expand it to check it out.


Lastly, set the data to be the items returned:
You will now be able to access the balances data within your data state variable.
useEffect(() => {
    fetch(balancesEndpoint, {method: 'GET', headers: {
      "Authorization": `Basic ${btoa(apiKey + ':')}`
    }})
      .then(res => res.json())
      .then(res => setData(res.data.items))
}, [balancesEndpoint])Fill out the placeholder values with data state
For each of the placeholder values, replace them with the values within the data state.
//App.js
...
return (
    <div className='container'>
      {data.map(item => {
        return (
          <div className='row' key={item}>

            <div className='left'>
              <div className='logoContainer'>
                <img className='tokenLogo' src={item.logo_url} alt='tokenlogo'/>
              </div>
              <div className='left-info-container'>
                <div className='tokenName'>{item.contract_name}</div>
                <div className='tokenBalance'>{item.balance}</div>
              </div>
            </div>

            <div className='right'>
              <div className='tokenValue'>${item.quote}</div>
              <div className='percentageChange'>${(item.quote-item.quote24h)/ 100}%</div>
            </div>
          </div>
        )
      })}
    </div>
  );
...
Save, and refresh the page on the browser.


Looking not too bad!
However, you may notice that the balances are returning a ridiculously large number. This is because the balances field returns values in wei. To get it to the SI unit, do the following:
<div className='tokenBalance'>{item.balance/(10**item.contract_decimals)}</div>And finally, to get rid of the excessive decimals:
{(item.balance/(10**item.contract_decimals)).toFixed(4)}And we get…


Not too shabby! A perfect token display page within 10 minutes.
If you have not been following along and would just like the end state, you can do the following to see this app locally:
git clone https://github.com/xiaogit00/building-wallets.git

cd building-wallets

npm i

git checkout part1-tokenDisplay-end
And replace the apiKey variable in App.js with your Covalent API key.
All in a Day’s Work
Good job, you’ve successfully reached the end of this tutorial. Hopefully, you can see that displaying all of your user’s token holdings is super simple with the help of the Covalent API. Now, if you’re interested, let’s proceed to build the other components within a wallet: