How to Build a Crypto Intelligence dApp with GoldRush Components
There has been a considerable increase in the number of users that interact with the blockchain, ranging from blockchain developers and crypto investors to airdrop hunters. Due to the daily interaction with different blockchains in the quest to build on a new blockchain and also carrying out some on-chain activities to position themselves for certain airdrops, most times users lose track of the platforms and blockchains they have interacted with. The Crypto Intelligence dApp is specifically built to solve this problem, giving developers, investors, and airdrop hunters insights into all the blockchains they have interacted with using their wallets and also showing them the assets (tokens) they hold on these blockchains.
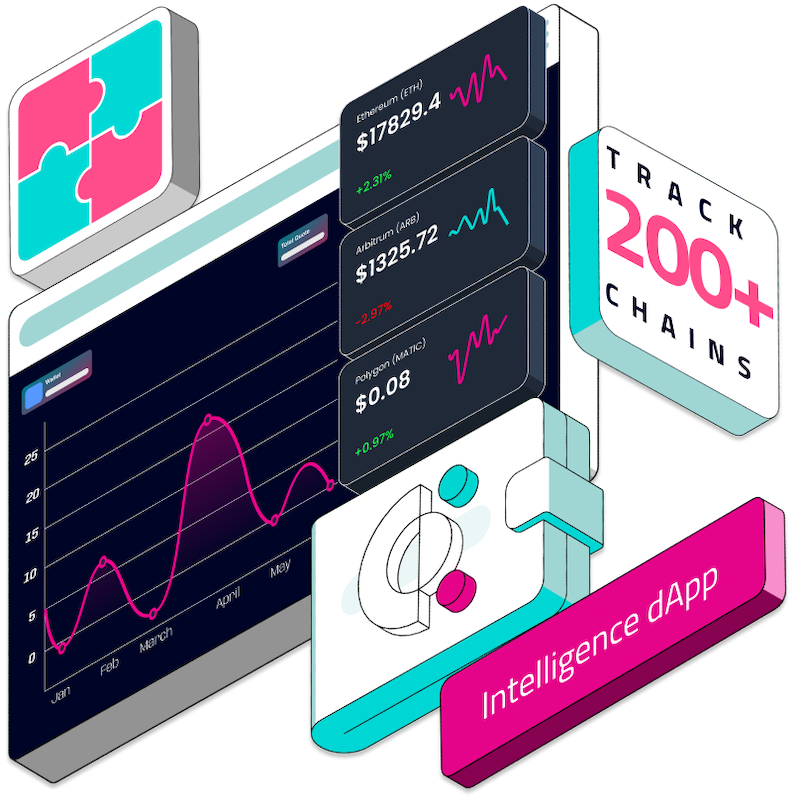
In this article you will be guided on how to build your own Crypto Intelligence dApp using the Covalent GoldRush Kit created by Covalent to enhance swift development of decentralised applications without worrying about building user interfaces and design components from scratch.
The Crypto Intelligence dApp
The Crypto Intelligence dApp is built with React.js, Bootstrap and GoldRush Kit. React.js is a JavaScript library used for building single page applications (SPAs), Bootstrap is a CSS framework for building responsive web pages while GoldRush Kit is a tool kit by Covalent that contains ready-made components that interacts with the Covalent Unified API and displaying crypto assets (ERC20 tokens and NFTs) held by a given wallet address.
The Crypto Intelligence dApp can be interacted with using only one input field where a user can pass in their wallet address and then click on the Lookup button. See the image below:

When a user inputs their wallet address and clicks on the Lookup button, they will be redirected to another page where all the blockchains they have interacted with using the given wallet address will be displayed. See the image below showing the blockchains that the given wallet address have interacted with (recorded on-chain activities).

On getting to the above page, users can select the chains they wish to explore or lookup their activities and asset holdings, and then click the Continue button at the bottom of the page. In the image below, we have selected three blockchains (Ethereum Mainnet, Polygon Mainnet and BNB Smart Chain).

In the above image, notice the Last Active section of each chain. It shows the last time the given address interacted with each of the listed blockchains.
On clicking the Continue button, the cryptocurrency assets held by the given wallet address across the three (3) selected blockchains will be listed:

The image above shows the list of tokens held by the given wallet address across the three selected blockchains (Ethereum Mainnet, Polygon Mainnet and BNB Smart Chain). The market price of each of the listed tokens is displayed under the Quote Rate column, the balance of the given wallet address for each token is shown under the Balance column and the total value of the address token balance is shown at the top right corner of the page with a name Total Quote.
To further explore, users can click on the dropdown icon on each of the listed tokens, and then click on the View Transfer History button. This will show the transfer history (IN and OUT transfers) of the given wallet address for that particular token that was clicked.

On clicking the View Transfer History button, a page with transfer history of the token which was clicked for the given wallet address will be displayed. See image below:

Notice the IN and OUT label in the list of transfers. The IN indicates a transfer of token sent into the wallet while the OUT indicates a transfer of token out of the wallet. The from and to columns shows the address that the token was transferred from and the address that it was transferred to, respectively.
Now that you understand what we will be building and how it works, let’s get into the business of building.
Getting Covalent API Key
Interacting with the Unified API requires that you have an account on the Covalent platform, which allows you to generate an API key for interacting with the API endpoints. Check out our easy setup guide to get your API key.
After creating the API key, copy it and save it somewhere. We will be using it as we proceed in our development journey. Let’s now proceed to do the heavy lifting.
Let’s BUIDL
The following steps will guide you to build your own Crypto Intelligence dApp from scratch using GoldRush components.
Prerequisites
Understanding of JavaScript.
Knowledge of React.js.
Using and interacting with APIs.
Install Node.js and NPM or Yarn on your computer.
Install a text editor or IDE; VSCode is preferred.
Building the Crypto Intelligence dApp
Step 1: Creating a React Application
Create a new project folder and name it goldrush_crypto_dapp.


Open a terminal on the goldrush_crypto_dapp you have created and run:
npx create-react-app .
Wait for the React application to be scaffolded.


After successful scaffolding of the React application, open the project with your VSCode text editor. Your project structure should look like the following image:


If you are familiar with React applications, you will already recognize the folder structure in the above image. Everything we will be building will be inside the src folder.
Step 2: Installing Required Dependencies
We will be using two external dependencies to successfully build the Crypto Intelligence dApp. There are @covalenthq/goldrush-kit and react-router-dom.
@covalenthq/goldrush-kit: This is the Covalent GoldRush Kit dependency that contains all we need to make use of the GoldRush components in our application.
To install the GoldRush Kit, run the following command in your VSCode terminal:
```
npm install @covalenthq/goldrush-kit

OR

yarn add @covalenthq/goldrush-kit
react-router-dom: This is a popular JavaScript library for implementing navigation and routing in React applications. We will be using it for the purpose of routing users to different pages of our application.
Run the following command to install react-router-dom:
npm install [email protected]
Step 3: Setting up a UI Framework (Bootstrap 4)
Bootstrap is a CSS library used for building responsive web pages. With Bootstrap, you can build web-responsive pages without the need to write your own custom CSS; all you need to do is make use of Bootstrap predefined classes in your HTML components.
We will be using Bootstrap 4 in our application. Use the following procedures to set up Bootstrap:
In your VSCode, go to public/index.html. Add the following code (Bootstrap CDN) in the head section of the page before the closing head tag (</head>):
<link rel="stylesheet" href="https://cdn.jsdelivr.net/npm/[email protected]/dist/css/bootstrap.min.css" integrity="sha384-zCbKRCUGaJDkqS1kPbPd7TveP5iyJE0EjAuZQTgFLD2ylzuqKfdKlfG/eSrtxUkn" crossorigin="anonymous">
Add the following code (Minified jQuery and Bootstrap JavaScript CDN) before the closing body tag (</body>).
<script src="https://cdn.jsdelivr.net/npm/[email protected]/dist/jquery.slim.min.js" integrity="sha384-DfXdz2htPH0lsSSs5nCTpuj/zy4C+OGpamoFVy38MVBnE+IbbVYUew+OrCXaRkfj" crossorigin="anonymous"></script>
    <script src="https://cdn.jsdelivr.net/npm/[email protected]/dist/js/bootstrap.bundle.min.js" integrity="sha384-fQybjgWLrvvRgtW6bFlB7jaZrFsaBXjsOMm/tB9LTS58ONXgqbR9W8oWht/amnpF" crossorigin="anonymous"></script>
The index file should look like this:


Step 4: Configure Application to Use react-router-dom
Before using react-router-dom, you must make sure that the entire application is wrapped with BrowserRouter from react-router-dom. This will give the application access to use the react-router-dom library for navigating and routing across pages.
Go to src/index.js. Copy the code from this link and replace the entire code in the index.js file with the code you have copied. The file should look like the following image:


Step 5: Create Components Folder and Four Other Components
This application is built to have different pages as components and each component has a different display feature.
Inside the src folder, create a new folder named components.
In the components folder, create four(4) files named: Activities.jsx, Home.jsx, TokenTransfers.jsx and WalletAssets.jsx.
The Activities.jsx file will contain the code that lists all the blockchain that a given wallet address has interacted with.
The Home.jsx file contains the input field where users will input their wallet address to explore the entire application. This is the first page every user will see when they launch the application.
The WalletAssets.jsx file displays the cryptocurrencies that a given wallet address has across the blockchain networks that the user has selected.
Finally, the TokenTransfers.jsx file displays all the transfer history of a particular token that the user has in their wallet.


After the Home.jsx file is done, let’s work on the WalletAssets.jsx file. Copy the code from this link and paste it inside the WalletAssets.jsx file.


Step 6: Update the Code in App.js
The App.js file is the React component that holds every other component that makes up the entire application. All other components are imported in the App.js component and we used react-router-dom to route between each of these components when the application navigates to certain route links.
Locate the App.js file inside the src folder.
Copy this code from GitHub and replace the code in the App.js file. The App.js file should look like this:

In the App.js file, we have basically imported every other component and used the Route and Switch features from the react-router-dom library to route between pages when the exact route is pointed to.
Step 7: Create a .env.local and Set Up Environment Variables
An env file is used to keep private variables safe. These are variables whose values you don’t want to be pushed to GitHub when committing your code. We will be using the .env.local file to keep our Covalent API key, which is needed to interact with the GoldRush Kit.
In the root project directory, create a .env.local file.
Inside the .env.local file create a variable with the name REACT_APP_COVALENT_API_KEY and set the value to your Covalent API key.


Congratulations! You have successfully created your own Crypto Intelligence dApp using GoldRush components.
Run Your Application
After building your own Crypto Intelligence dApp, the next thing to do is run the application on your local machine to ensure that everything works perfectly.
Open your VSCode terminal and run the following command:
npm start
The application will launch on http://localhost:3000 in your browser and you should see the following image:

Test your application properly and you can choose to deploy it on any platform of your choice (Netlify, Vercel, Fleek or any shared hosting platform).
The complete code for this application is found on this GitHub link.
Conclusion
The daily activities of users on the blockchain is increasing with so many technologies popping up here and there and users may find it difficult to keep track of which blockchain they have interacted with or where they have some investments. The Crypto Intelligence dApp was built to solve such problems, helping users track and display chains which they have interacted with and also have cryptocurrency investments.
This application was also built using the Covalent GoldRush Kit, which is a handy tool for building decentralized applications that interacts with the Covalent Unified API without need to build UI components from scratch.