The Ultimate RainbowKit Integration Tutorial for Web3 Developers
What is RainbowKit?
When it comes to creating Web3 dApps, the balance between usability and flexibility is crucial. Enter RainbowKit – a tool that makes the job of designing a dApp wallet not only visually appealing but also incredibly user-friendly. This comprehensive guide is all about exploring what RainbowKit is and delving into why there is a need for it in dApp development. This article is of two series. Part one delves into what and why of RainbowKit and how we can instantiate a wallet connection.
In part two of this guide, we will delve deeper into how RainbowKit can be seamlessly integrated into an NFT minting dApp. So, fasten your seatbelts as part one unravels the wonders of RainbowKit's wallet connectivity in web3 dApps. Stay tuned for part two, where we'll take our RainbowKit journey a step further, exploring its integration with an NFT minting dApp.
The Advantages of Using RainbowKit in Decentralized App Development
Traditionally, in decentralized applications (dApps), integrating wallets was a bit rigid. Developers had to tailor the dApp to work with a specific wallet, say, Metamask. This approach was limiting because it meant users were tied to using only that particular wallet with the dApp.
RainbowKit redefines this approach entirely. It's a game-changer because it offers developers a broader canvas to work with. With RainbowKit, developers have a toolkit that lets them customize the entire process of connecting wallets to their dApps. For example, they can choose different themes, setting the visual tone that matches their dApp's look and feel. They can curate a list of supported wallets, giving users options beyond just one choice. This means users can pick and use their preferred wallet, whether it's Metamask, Trust Wallet, or others, all within the same seamless experience.
RainbowKit isn't just about visuals; it's about function, too. Developers can decide which blockchain networks their dApp supports, making it more versatile for users navigating different networks. They can also design custom 'connect' buttons that blend perfectly with their dApp's design language, creating a smoother and more familiar user interface.
By letting developers tweak and customize the way wallets connect, RainbowKit opens doors for users. They're no longer confined to using a single wallet; they have options. This not only makes the dApp experience more user-friendly but also more inclusive, as it caters to diverse user preferences and needs.
Comprehensive Step-by-Step Guide to Implementing RainbowKit in Your dApp
Now that we know how RainbowKit allows developers to customize their wallet connection experiences let's put it into action with a practical guide.
We will be going through a step-by-step process, starting from scratch, to seamlessly integrate a RainbowKit button across various chains.
Prerequisites
Knowledge of React.
Development environment: VSCode or Atom.
Node version >v18.16.0.
Step 1: Creating a React Project
To install React, I’ll recommend you make use of Vite. Go to your terminal and run the following command:

npm create vite@latest
You'll be prompted to enter a project name; input your desired name (I chose RainbowKit).
Afterward, choose the React framework when prompted to select a framework.
Following that, opt for the Javascript variant when asked for the variant.
Navigate to your project directory and execute:
npm install
Ensure your application is functioning properly by executing:
npm run dev
Navigate to your local server at http://localhost:5173/ and you should see an interface displayed as follows:

Once we've set up our React project, we can move forward to install RainbowKit along with other necessary dependencies.
Step 2: Setting Up RainbowKit
To install RainbowKit and its peer dependencies, Wagmi and Viem, run:
npm install @rainbow-me/rainbowkit wagmi viem
By now, you're all set to make use of the RainbowKit package in your project.
Step 3: Configuring RainbowKit
Let's import the packages into our project. We’ll add these imports at the top of the main.jsx file:

Next, we'll proceed to configure RainbowKit and Wagmi as demonstrated:

For this guide, we'll set up the supported chains for our project, keeping it unchanged, along with the provider required by Wagmi to interact with the blockchain. For a comprehensive overview of various ways to configure your connection modal, you can refer to RainbowKit's documentation. We’ll also need a Project ID. You can get one from WalletConnect Cloud and it will look something like this: S4sTYP9joUROq_zKY9YGroLoO4o7NkWk. This unique identifier is integral to your project's interaction with WalletConnect Cloud, enabling seamless connections with various wallets.
Step 4: Getting a RainbowKit Project ID
To generate a Project ID, access WalletConnect Cloud by signing in and selecting the Create option, as illustrated below:

Provide a name for the project and then click on the Create button to proceed.

Following these steps, you should obtain a Project ID for your project.

Step 5: Wrapping Providers with the App
In your main.jsx file, wrap your <App /> component using the providers. Your complete file should look like the example provided:


Step 6: Adding the Connect Button
To include the connect button, import it from RainbowKit at the top of your App.jsx file.
import { ConnectButton } from '@rainbow-me/rainbowkit'Your entire App.jsx looks something similar to what we have below. Essentially, this file controls how your app looks and works. It includes different parts of your app and adds the RainbowKit connect button to make it easy for users to connect their wallets.

We’ll remove most of the code as we only need the connect button.

Once everything is up and running on your local system, you should have something similar to this:

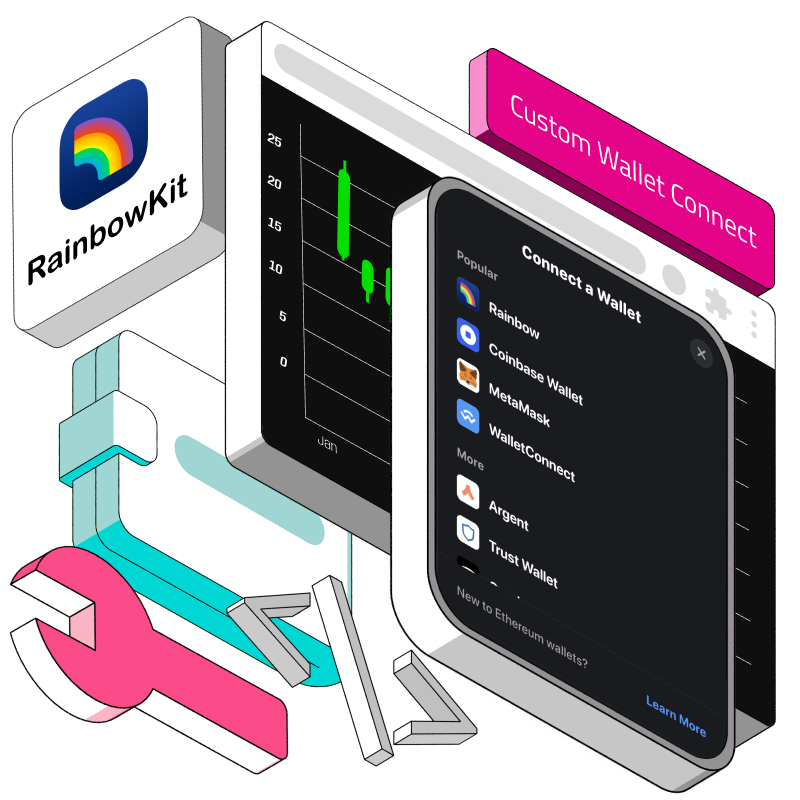
When you click Connect Wallet, a pop-up window, similar to the image below, will appear:

If you click on any of the wallets (i.e. metamask), you should be able to connect your wallet and connect to the chain of your choice.

Congratulations for making it to the end of the tutorial and successfully integrating RainbowKit!
Conclusion
RainbowKit offers a bunch of useful tools without needing much effort from you, the developer. It works closely with the Wagmi library, making it easy for you to use all of Wagmi's cool features, like signing messages and doing transactions.
In this guide, we learned how to set up a React project with RainbowKit and make it work with different blockchain networks. This makes connecting wallets simpler and lets developers create a unique experience for their users.
RainbowKit is more than a tool; it's a way to make blockchain technology user-friendly. It shows how Web3 development is becoming more about easy access and customization.
Stay tuned for our next part, where we'll show how to use RainbowKit in an NFT minting dApp. We'll see how it not only makes things easier technically but also improves how users interact with dApps. Stay tuned!