Mastering the ERC-1155 Multi-Token Standard (Part 2)
- Check ownership in NFT collection
Welcome to the second part of the ERC-1155 tutorial! In this hands-on guide, you learn how to create, mint, deploy, and interact with an ERC-1155 smart contract. If you haven't read the previous article, give it a look to get up to speed with what we're doing here.
Let's get started!
Prerequisites
It is important to ensure you have the following in place before diving into the tutorial:
Familiarity with Solidity Smart Contract.
Basic understanding of ERC-20 and ERC-721 (you can check out the first part of this tutorial here).
Have Metamask set up.
Some knowledge of Openzeppelin Smart contract.
Tutorial: Building, Minting, and Deploying Your ERC-1155 Smart Contract
As we move forward with this tutorial, it’s important to keep in mind that ERC-1155 is a multi-token standard that enables the creation and management of both fungible (like ERC-20) and non-fungible (like ERC-721) tokens within a single contract. This knowledge will be useful as we progress through the guide.
Step 1: Creating Your Contract File on Remix
Open the Remix Ethereum IDE website here. Once you're on the Remix website, you'll see the Remix IDE interface. In the top left corner, click on the File menu and then select Create new file.

Step 2: Creating Your ERC-1155 Smart Contract
We'll use OpenZeppelin's contract to build our contract, so you don't have to create everything from scratch. Inside MyERC1155Token.sol, start by importing the OpenZeppelin ERC-1155 contract and other necessary contracts at the top of your file:

The above lines of code import various contracts from the OpenZeppelin library:
ERC1155.sol: This is the base contract that implements the ERC-1155 multi-token standard.
Ownable.sol: Provides basic access control functions; that is, only the owner of the contract can call certain functions.
ERC1155Supply.sol: This is an extension to the base ERC-1155 contract, which adds additional functionality to track and verify the supply of tokens.
Step 3: Implementing Custom Functionality
Following the imports, you need to define the functions needed for your contract.

Let’s go through each of the functionalities included above one after the other:
The contract is named MyERC1155Token, and it inherits its functionalities from the three contracts we imported:
ERC1155,
Ownable, and
ERC1155Supply.
These inherited contracts provide various features and behaviors for managing ERC-1155 tokens, ownership control, and token supply management.

Constructor
The constructor initializes the ERC-1155 contract with a URI ("MY MULTITOKEN") when the contract is deployed, which is often a base URI where clients can retrieve data about each token ID. URI stands for Uniform Resource Identifier. In simple terms, it's a link or reference to metadata or additional information about an NFT. This metadata often includes details like the name of the item, description, image link, and other attributes or properties of the NFT. When you see an NFT displayed with a particular image or description in a marketplace or gallery, it's typically fetched from the location specified by the URI.

Setting Token URI
The setURI function allows the owner of the contract (deployer) to change the base URI. To know how you can generate a URI, check out this tutorial. The onlyOwner modifier here ensures that only the contract owner can call this function, and it takes one argument:
newuri(string): The new URI that will be associated with the tokens.
Minting Tokens
The mint() function allows the owner of the contract to create (mint) new tokens and send or mint them to a specific address, and it takes the following arguments:
account(address): The address to which the newly minted tokens will be sent.id(uint256): A unique identifier (ID) of the token being minted.amount(uint256): The amount of the token to mint.data(bytes): Optional metadata or additional information associated with the minting process.

The mintBatch() function is similar to mint, but it allows the owner to mint multiple tokens at once, and it takes the following arguments:
to(address): The address to which the newly minted tokens will be assigned.ids(uint256[]): An array of unique identifiers (IDs) of the tokens to mint.amounts(uint256[]): An array specifying the amounts of each token to mint.data(bytes): Optional metadata or additional information associated with the minting process.
_beforeTokenTransfer

This is an internal function that gets called before any token transfer (either minting, transferring, or burning) since the contract inherits from both ERC1155 and ERC1155Supply, the function needs to override the base implementations. The super._beforeTokenTransfer ensures that both base implementations are called. It takes the following arguments:
operator(address): The address performing the token transfer.from(address): The address from which the tokens are being transferred.to(address): The address to which the tokens are being transferred.ids(uint256[]): An array of unique identifiers (IDs) of the tokens being transferred.amounts(uint256[]): An array specifying the amounts of each token being transferred.data(bytes): Optional metadata or additional information associated with the token transfer.
You can add more functionalities as needed, but for the purpose of this tutorial, we have all the functionalities that we need.
This contract provides a template for creating and managing ERC-1155 tokens with the ability to mint and transfer them. It includes ownership control via the Ownable contract and extends the behavior of the ERC1155 and ERC1155Supply contracts as needed for the specific requirements of the token.
Step 4: Compiling the Contract
To compile your contract in the Remix interface, navigate to the Solidity Compiler tab on the left. Click the Compile button to compile your smart contract. Ensure that there are no compilation errors. If there are any errors, review the code and error messages to resolve them.

Step 5: Deploying Your ERC-1155 Smart Contract
Navigate to the Deploy & Run Transactions tab on the left in REMIX. Select the environment where you want to deploy your contract (e.g., Injected Provider-Metamask.). Ensure you have some Ether for gas fees. Here, I would be deploying on Sepolia testnet. You can request for faucet here if you don’t have enough.

Click the Deploy button to deploy your ERC-1155 smart contract. This action will trigger a confirmation request for the contract deployment transaction in Metamask. After which, your contract will be deployed on your chosen network.

You can head over to copy the deployed contract address to view on Etherscan.

As you can see, the contract has been successfully deployed on Sepolia network, and it’s set for verification and interaction.
Step 6: Contract Verification
Once your contract is deployed, you can either interact with it directly on REMIX or verify it and interact on Etherscan or just create a custom interface for it. The decision is up to you. However, in this tutorial, we will verify the contract to enable interaction on Etherscan.

To verify a contract from Remix to Etherscan, you first need to activate the Etherscan Contract Verification plugin. To do this, go to the Plugins icon in Remix and search for Contract Verification - Etherscan.

Click the Activate button to enable the plugin. Get your Etherscan API key. To do this, create an account on Etherscan, go to the API Keys page, click the Create API Key button, enter a name for your API key, and then click the Create button to generate your API key.
Set your Etherscan API key in Remix. To do this, go to the Etherscan Contract Verification plugin and click the Settings tab. Paste your Etherscan API key into the API Key field and click the Save button.

To verify your contract, lastly, go to the Etherscan Contract Verification plugin and select the contract you want to verify from the Contract dropdown menu.

Paste the contract address into the Contract Address field and click the Verify Contract button to verify your contract.
If your contract is verified successfully, you will see a green check mark next to the contract address in the Etherscan Contract Verification plugin. You can also view your verified contract on Etherscan by searching for the contract address.
Step 7: Contract Interaction
On Etherscan, navigate to your contract's page. Click on the Connect to Web3 button, usually present in the upper right corner.

This will connect Etherscan to your MetaMask wallet. Once you are on your contract's Etherscan page, navigate to the Contract tab.
Click on Write Contract or Read Contract, depending on what you want to do. Write is for changing state (like minting tokens), and Read is for viewing data without making any changes.
For MyERC1155Token, you have several functions:
Setting URI: Click on the setURI function and enter the new URI you wish to set. Ensure that the address that deployed the contract is the one interacting with the function; otherwise, it reverts. Click Write. MetaMask will prompt you to confirm the transaction. Confirm the transaction after checking the gas fees.

Minting Tokens: Click on the mint function and provide the account (address to receive tokens), id (token ID), amount (number of tokens), and data (additional data, if any). Click Write. Again, MetaMask will ask for confirmation.
mintBatch: Click on the
mintBatchfunction and provide the to address, the array of ids, the array of amounts, and the data. Click Write and confirm in MetaMask. You can follow the process for others as well.
Reading Data: Go to the Read Contract section if you want to query data, e.g., checking the balance of tokens for a specific address and token ID.

While the provided contract doesn't have explicit read functions, standard ERC-1155 functions like balanceOf would allow you to query the balance of a specific token for a specific address.
Transaction Confirmation and Receipt:
Once you confirm a transaction in MetaMask, it'll be broadcast to the Ethereum network. You can monitor its status by clicking on the transaction hash that appears in MetaMask or Etherscan. Once the transaction is confirmed, you can view the details and get a receipt on Etherscan.
Using Covalent's Endpoints for NFT Ownership Verification
This endpoint allows you to confirm NFT ownership for both ERC-721 and ERC-1155 standards within a specific collection. It also extends to verifying the ownership of a particular token within those collections.
To validate ownership within an NFT collection, input the desired walletAddress into its designated field. Next, paste the NFT’s contract address into the collectionContract field. Choose the appropriate chainName and click Run. Note that the Sepolia testnet isn't supported currently, but you can view the available networks as you engage with the interface here.

Conclusion
In this tutorial, we've covered the detailed process of building, minting, deploying, and interacting with an ERC-1155 smart contract. We began by setting up our development environment, progressed to building our own ERC-1155 token using the OpenZeppelin library, and then successfully deployed and verified the contract. We also explored how to use Covalent's endpoints for verifying NFT ownership, providing a comprehensive toolkit for any Web3 developer.
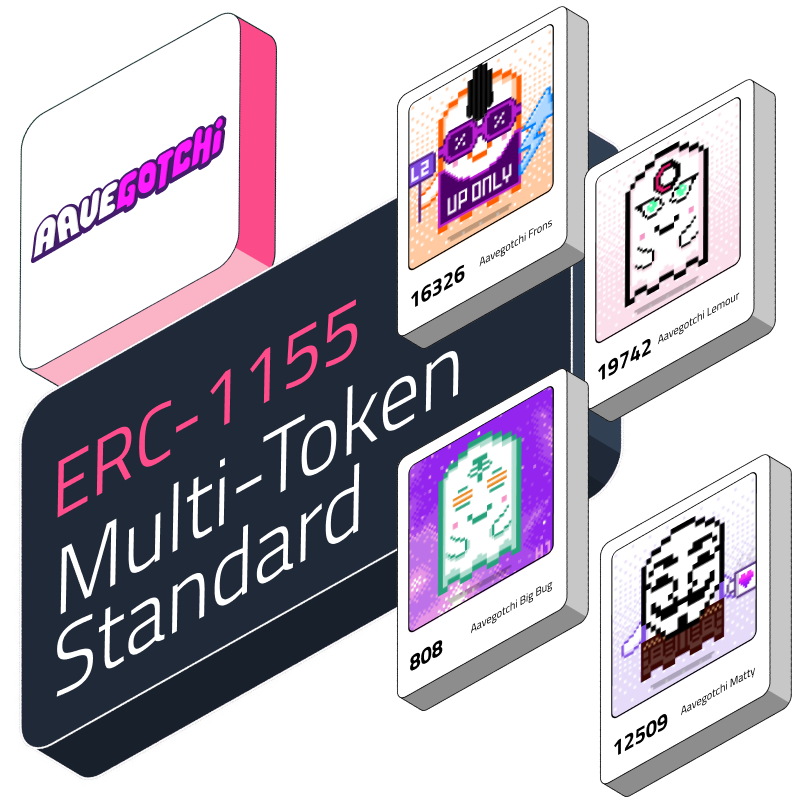
Whether you're just starting or looking to deepen your understanding of Ethereum token standards, this guide offers a solid foundation. Keep in mind that the blockchain and smart contracts field is continuously evolving, so always strive to learn, contribute, and experiment. Also, consider examining the architecture of Aavegotchi's contract, which uses ERC-1155 for in-game assets and wearables. Happy coding!