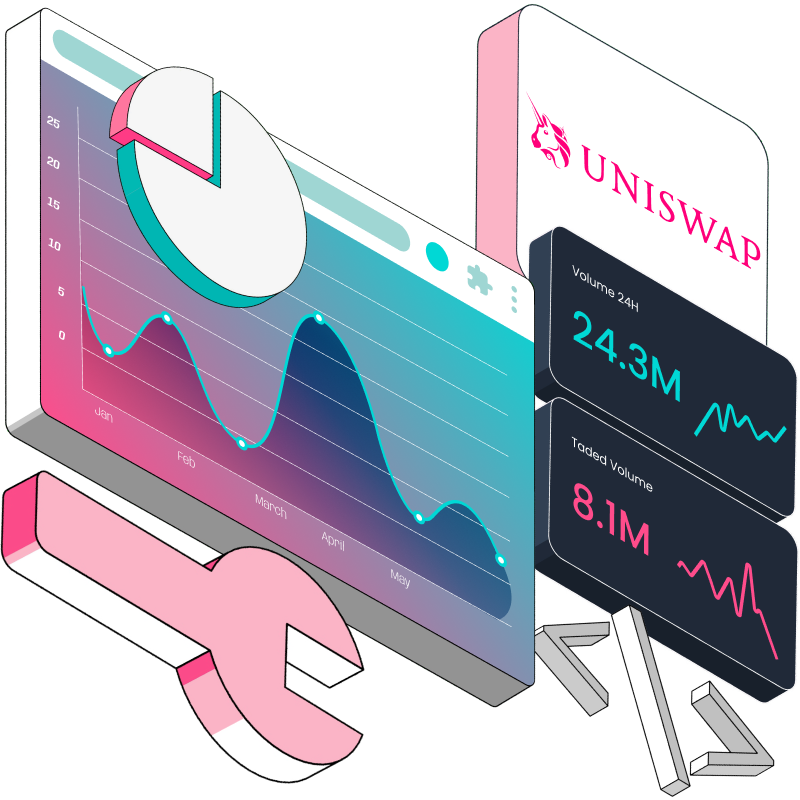
How to Clone UniswapV2 (Frontend)
Creating decentralized applications (dApps) involves more than just crafting smart contracts; it’s about establishing a fully integrated, user-friendly experience. Smart contracts form the blockchain backbone, executing the core tasks, but a robust frontend is essential for user interaction, making complex smart contracts accessible and manageable.
In our previous article, we went through the process of cloning and deploying UniswapV2 smart contracts, in this article, you will learn how to clone the UniswapV2 frontend and connect it with the deployed smart contract on any EVM blockchain.
Prerequisites
Before you begin with this tutorial, make sure you've got the following ready:
A clear understanding of how UniswapV2 architecture functions (you can refer back to the first tutorial here).
You've already cloned and deployed the UniswapV2 Smart Contracts.
A good understanding of JavaScript.
Knowledge of building frontend applications using React.js.
Node.js, NPM, and Yarn are installed on your computer.
UniswapV2 Frontend
UniswapV2 frontend is built with React.js and Typescript, and it uses the UniswapV2 SDK as its connection point with the smart contract. Connecting the frontend and making it work on any EVM-based blockchain requires modifying the SDK to make use of the same chainID where the smart contracts were deployed. This article will be focused on pointing out all modification points necessary for customizing the UniswapV2 frontend and making it work on any EVM chain where our smart contracts were deployed and not go through the entire frontend codebase. Buckle up as we embark on this ride!
Tutorial
This tutorial will be divided into two sections:
Cloning and setting up the UniswapV2 SDK.
Cloning and setting up the UniswapV2 Interface.
How to Clone and Set Up the UniswapV2 SDK
Clone the UniswapV2 SDK
The first step to getting Uniswap's frontend working is cloning a particular commit version of the V2 SDK.
Create a folder on your PC called UniswapV2.
Navigate to GitHub and clone UniswapV2 SDK here.
Download the repository into your PC.


Unzip the downloaded copy of the V2 SDK.
Copy the unzipped folder into the UniswapV2 folder you created earlier.
Rename the folder to v2-sdk.


Install UniswapV2 SDK dependencies
After cloning the SDK into your PC, the next step is to install all the SDK dependencies.
Open the v2-sdk folder with VS Code.
Open a VS Code terminal and run
yarnto install all dependencies.


Modify the SDK constants.ts file
Once you've installed the SDK dependencies, you'll need to customize the SDK to function with your deployed smart contracts and chain. In this step, we will locate files in the SDK and make specific changes to them.
Go to src/constants.ts.
In the
ChainIdenum, add the chain ID of the EVM chain where your contracts were deployed if it doesn’t exist already. We will be adding the Sepolia testnet chain ID, which is11155111.Change the value of
FACTORY_ADDRESSto the address of your own V2 factory contract you deployed.Change the
INIT_CODE_HASHto the one in your UniswapV2Library found in the Router.sol contract. Refer back to the previous article here.


Modify the SDK token.ts file
Go to src/entities/token.ts.
Locate the
WETHconstant and add your ownChainIdand the address of the WETH smart contract you deployed earlier.


Modify the SDK currency.ts file
The currency.ts file can only be modified if your contract is deployed on an EVM chain where the native currency is not Ether; for example, if your contracts were deployed on the Polygon chain, you will need to modify the currency.ts file.
Go to src/entities/currency.ts.
Locate the
public readonly ETHERand change thesymbol(ETH)andname(Ether)to that of your preferred chain. The decimal can also be changed if the decimal of the native token of the chain where your contracts are deployed is not 18.
Note: Only change these parameters if the native token of the chain is not Ether(ETH).
We won’t be modifying this file because we are using Sepolia, which also uses Ether (ETH) as its native currency.

Build the V2 SDK
After making the necessary modifications on the v2-sdk file, build the SDK to be used in the frontend code dependencies.
In your VS Code terminal, run
yarn build.Wait for the build to complete. You will see a dist folder in your VS Code directory list.
Your v2-sdk is ready.


How to Clone and Set Up the UniswapV2 Interface
After cloning and setting up the V2 SDK, we can now proceed with cloning the UniswapV2 frontend interface.
Clone the UniswapV2 frontend interface
The UniswapV2 interface actually has no separate repository of its own -the interface gets updated each time Uniswap upgrades to a new version, and currently, the repo contains the V4 interface. We are going to trace the V2 interface down to a specific commit on GitHub.
Navigate to the UniswapV2 Interface on GitHub here.
Clone the repo by downloading the zip file.


Unzip the downloaded file and copy it to the UniswapV2 folder you created earlier that contains the v2-sdk file.


Modify the package.json file and install dependencies
Open the Uniswap interface folder with VS Code.
Go to the package.json file.
Under the devDependencies key, locate
@uniswap/sdk.Change the value to
“file:../v2-sdk”.Open your VS Code terminal.
Run
yarnand wait for all dependencies to be installed.
Note: Ensure that the Interface folder and the v2-sdk folder are in the same directory.


Modify src/constants/index.ts file
We are going to make changes to some files in the UniswapV2 Interface codebase that will make it work perfectly with our own customized SDK and deployed smart contracts.
Go to src/constants/index.ts.
Change the constant
ROUTER_ADDRESSto the address of the Router02.sol contract we deployed in the previous tutorial.Add the
ChainIdof the new chain where our smart contracts were deployed, in our case Sepolia.


Modify src/connectors/index.ts file
Go to src/connectors/index.ts.
Locate the
supportedChainIdsarray and add the chain ID of our own chain where we deployed our smart contracts if it doesn’t exist in the array; in our case, it’s Sepolia and the chain ID is11155111.
Note: You can remove all other chain IDs from the array and use only ours if you only want to support just Sepolia chain.
Change the
appNameif you wish to customize that.
Modify src/constants/multicall/index.ts
Go to src/constants/multicall/index.ts.
In the
MULTICALL_NETWORKSconstant, add the network on which our smart contracts were deployed if it doesn’t exist already. In this case, add Sepolia.


Modify src/components/Header/index.ts
Go to src/components/Header/index.ts.
In the
NETWORK_LABELSconstant, addSepoliato the list of values on the object.


Modify src/constants/v1/index.ts
Go to src/constants/v1/index.ts.
In the
V1_FACTORY_ADDRESSES, addChainID.SEPOLIAto the list and set the value to the address of the UniswapV2 Factory contract we had deployed earlier in the previous article.


Modify /src/state/lists/hooks.ts
Go to /src/state/lists/hooks.ts.
In the
EMPTY_LISTconstant, addChainId.SEPOLIAto the list of values.

Modify /src/utils/index.ts
Go to /src/utils/index.ts.
In the
ETHERSCAN_PREFIXESconstant, add11155111: ‘sepolia.’to the list of key-value pairs.

Compile and start the React project
You can now run yarn start for your frontend to compile and open in a browser.
Congratulations if you have gotten to this point; you have successfully modified the UniswapV2 frontend to work on your preferred EVM blockchain network! In our case, we use Sepolia for this tutorial.
You should have a similar interface to the one below:


Connect Metamask
To ensure that you have correctly customized the frontend, let’s connect Metamask while on the Sepolia network.
Ensure that your Metamask wallet is on Sepolia Network.
Click on the Connect to a Wallet button and select Metamask.
Your wallet should connect properly without errors.


Extra Modifications and Customization
This is a bonus section to add some more UI modifications and changes on the UniswapV2 frontend, making it look more like your own thing.
Change the UniswapV2 logo
Changing the UniswapV2 Interface logo requires the following steps:
Go to src/components/Header/index.ts.
On lines 8, 9, 10 and 11, you will see where the logos were imported.
Change the import files, but don’t modify the name of the import.

Changing the native token symbol of the connected wallet
This modification is only useful if you are cloning to a chain where the native token is not ETH, for example, cloning to a polygon chain where the native token is MATIC.
Go to src/components/Header/index.ts.
Go to line 165.
Change the
ETHsymbol to any symbol of your choice, for example, MATIC, if your smart contracts were deployed on the Polygon chain.

Removing the version switch button
The version switch button was for users to switch between performing their swap on either UniswapV1 or V2. But we don’t have a V1. Therefore, keeping the version switch is redundant.
Go to src/components/Header/index.ts.
Comment out the
VersionSwitchimport and comment out where it was used.


After commenting this out, the version switch button will be removed from the frontend interface. See the image below:

Conclusion
There are no limits to how you can customize and modify the UniswapV2 frontend interface to your desired design. All you need is to study the codebase closely and locate the files you intend to modify. In this tutorial, we have successfully cloned and modified the UniswapV2 Frontend Interface and UniswapV2 SDK to connect with our deployed smart contracts, which we covered in our previous tutorial here. This can be done for any EVM-compatible blockchain if the above steps are properly followed. You can now call yourself a UniswapV2 master. Happy building!