How to Use ERC-4626, the Tokenized Vault Standard
Welcome to the second part of the ERC-4626 tutorial! In this practical guide, you will discover how to implement the Tokenized Vault Standard. If you haven't had a chance to explore the previous article, I recommend giving it a read to ensure you're up to date with what we're doing in this second part.
Without further ado, let’s get started!
Tutorial: Implementing ERC-4626 Tokenized Vault Standard
Estimated time to follow along: 15 mins - 20 mins
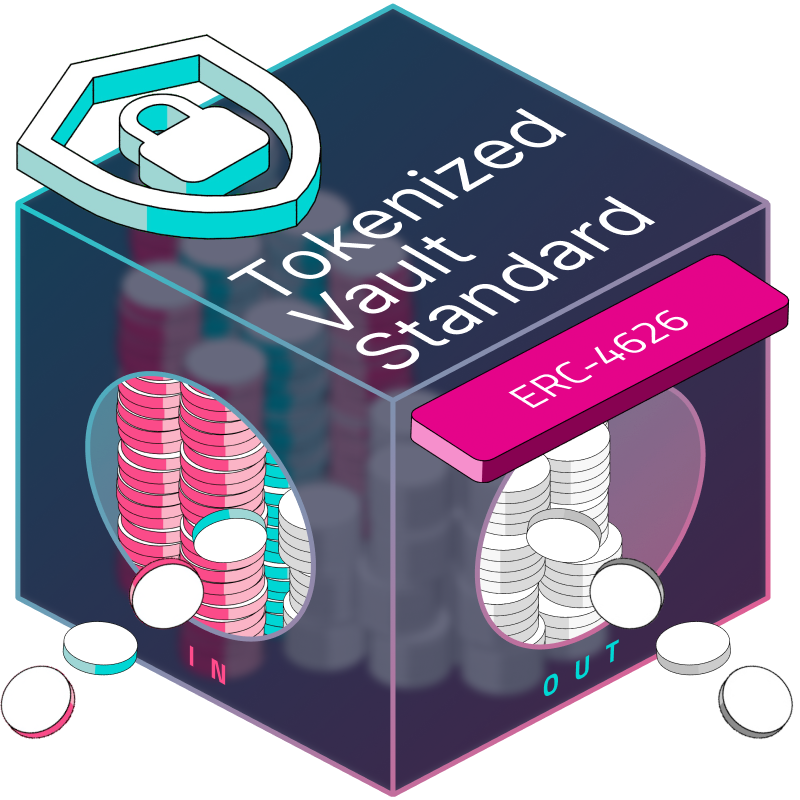
In this walkthrough, We’ll implement a custom tokenized vault standard. Be sure you’re up to date with what ERC-4626 is all about.
By building an ERC-4626, you’ll learn:
How to create a vault that follows the ERC-4626 standard.
How to implement an asset token using the ERC-20 standard.
How a yield-bearing token works under the hood.
Step 1: Scaffolding the Project
Go to Remix IDE here. Next, on the Remix interface in the left top corner, click on the file and create a new file. Here, we’ll create two files Token.sol and Vault.sol. These are the underlying asset token file, and the vault contract.

Step 2: Creating the Contract
Before setting up our tokenized vault, we have to make an ERC-20 smart contract. This contract will be the token representing our asset.

The pragma solidity statement specifies the version of the Solidity compiler to use. In this case, it's version 0.8.20.
This contract, named Token, inherits from ERC20, which is a standard Ethereum token contract, and Ownable, which provides basic authorization control.
Inside the constructor function, the token is initialized with the name
CovTokenand symbolCVTusing the ERC20 constructor. Additionally, it sets the deployer of the contract as the owner.The constructor also mints
200,000tokens to the contract deployer.The function
mintallows the deployer of the contract to mint (create) more tokens to a specified address.
Vault Contract
The vault contract is responsible for creating and managing our yield-bearing token.

Import
The code starts by importing the ERC4626Fees.sol from OpenZeppelin which is used in the contract that can be obtained here.
State Variables
Owner: this is a payable address variable that indicates the owner of the vault.entryFee: This variable represents the fee charged for transactions within the vault.
Constructor
The constructor initializes the contract when it's created. It accepts an _asset (an ERC20 token) and an _entryFee. The ERC4626 and ERC20 constructors are also called during the deployment of the share token.
Internal Functions

The _entryFeeBasisPoints() and _entryFeeRecipient() functions are internal and return the basis points for the fee and the recipient address, respectively.
Deposit, Mint, Redeem, and Withdraw Functions


These functions handle actions related to depositing, minting, redeeming, and withdrawing assets from the vault.
deposit(): This deposits assets into the vault and returns the deposited assets.mint(): This mints shares based on deposited assets and returns the assets minted.redeem(): This redeems shares for underlying assets.withdraw(): This withdraws assets from the vault.
Internal Helper Functions

afterDeposit(): This is an internal function handling actions after asset deposits, like calculating interest and transferring it to the vault.beforeWithdraw(): This is an empty internal function, possibly intended for additional logic before asset withdrawal.
Step 3: Compiling and Deploying the Smart Contract
To compile our contract, navigate to the compiler tab on the left and click on Compile. Once you've successfully compiled the contract, proceed to the Deploy tab to initiate the deployment. Select Injected Provider-Metamask from the available environments.

Let’s deploy our token contract, which will serve as the asset token when deploying the vault contract. Click the Deploy button, which will prompt the MetaMask wallet to appear. Proceed by clicking the Confirm button within the wallet interface. Once the deployment is successful, we should see something like this.

Next, deploy the vault contract by providing the token contract address as the asset and specifying an entry fee of your choice. Once done, click on the Deploy button.

Step 4: Interacting with the Contract
Transfer 200 tokens to Account 2 on MetaMask. To do this, we’ll import our token into MetaMask, copy the token address, import it into Account 1, and then initiate the transfer of 200 tokens to Account 2.


ERC-4626 uses the transferFrom function for deposits, requiring prior approval from the underlying token. Therefore, we'll authorize the vault contract to access the CVT token by interacting with the approve function. Enter the vault contract address and the approved amount. Then, click transact and proceed by confirming the approval action within MetaMask.


Navigate to the deployed vault contract and use the deposit function to acquire share/vault tokens by swapping assets. Enter the amount of assets you wish to deposit. Click the transact button, then confirm the action by clicking Confirm within the MetaMask pop-up.

When you check Metamask and import our share token, it should show the deposit of the CVT token and the reception of vCVT, plus the fees deducted by the vault.

In a production vault, after depositing an asset, users typically wait for the share to accumulate yield. However, in this guide, we've set the interest rate directly, allowing for instant withdrawal. Let's withdraw our assets and check our share balance. Click on redeem and input your share, the receiver address, and the owner address, which in this case are both the same.

If you check Metamask now, you'll notice the CVT token with added interest in your account.

Great job! We've successfully built a tokenized vault contract that enables deposits and withdrawals with interest following the ERC-4626 standard.
Conclusion
Well done on reaching this stage! Throughout this guide, we've explored the ERC-4626 Tokenized Vault Standard, delved into the mechanics of yield-bearing vaults, and uncovered the process of implementing our own yield-bearing vault using the ERC-4626. Happy coding!